Sidebar
This is an old revision of the document!
Table of Contents
Thunderbird Setup
Add a new account
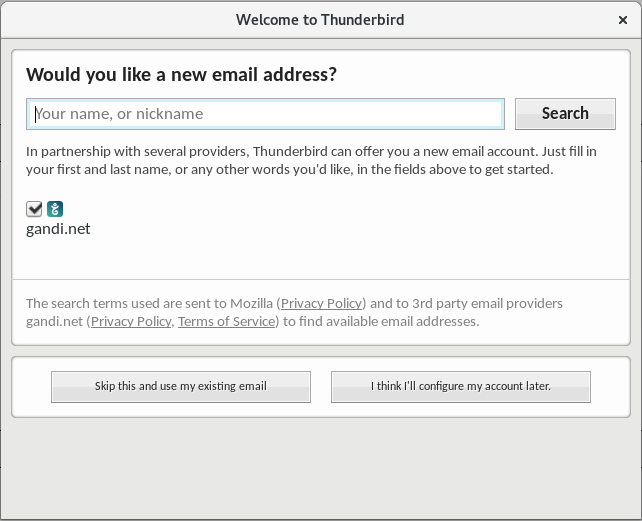
Click on Skip this and use my existing email
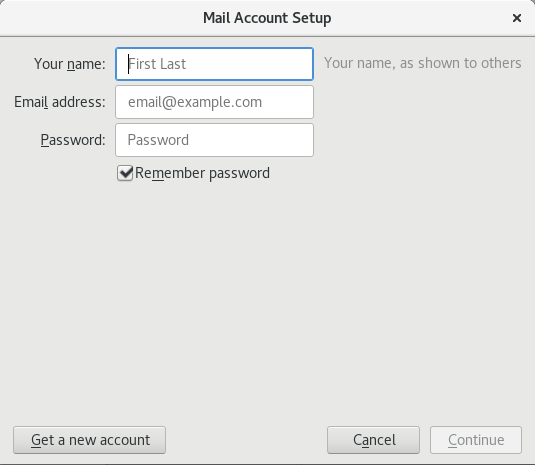
Fill in these spaces:
| Description | What to fill in | Notes |
|---|---|---|
| Your Name | First and last name, e.g. John Doe | use ue instead of ü etc. |
| Email address | Your official University Email address, eg. John.Doe@uibk.ac.at | can be taken from your “Benutzerbewilligung” |
| Password | can be taken from your “Benutzerbewilligung” |
Press continue
Thunderbird is trying to find the right settings but it will not find them, so immediately click manual config
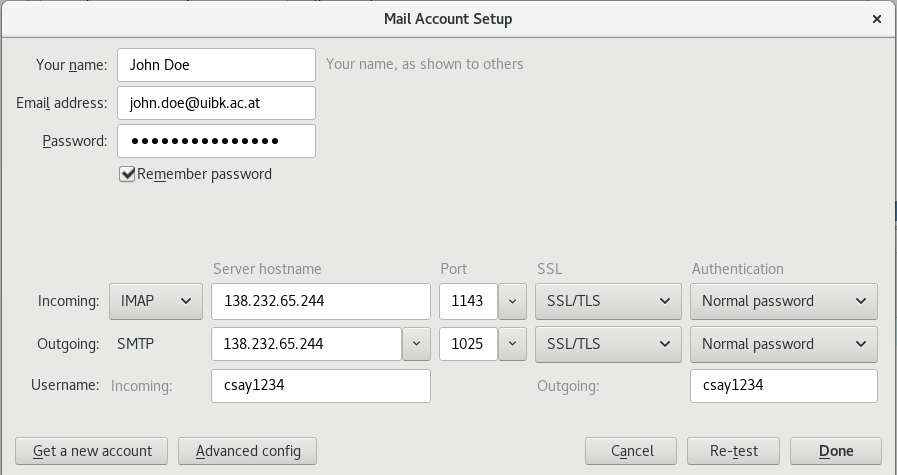
Once again fill these spaces:
| Description | What to fill in | Notes |
|---|---|---|
| Username | Your c number | can be taken from your “Benutzerbewilligung” |
| Server hostname | 138.232.65.244 | incoming and outgoing are identical |
| Port (IMAP) | 1143 | |
| Port (SMTP) | 1025 | |
| SSL | SSL/TLS | |
| Authentication | Normal password |
Double check your entered infos, and click Done
Your Mail Address is now configured.
LDAP
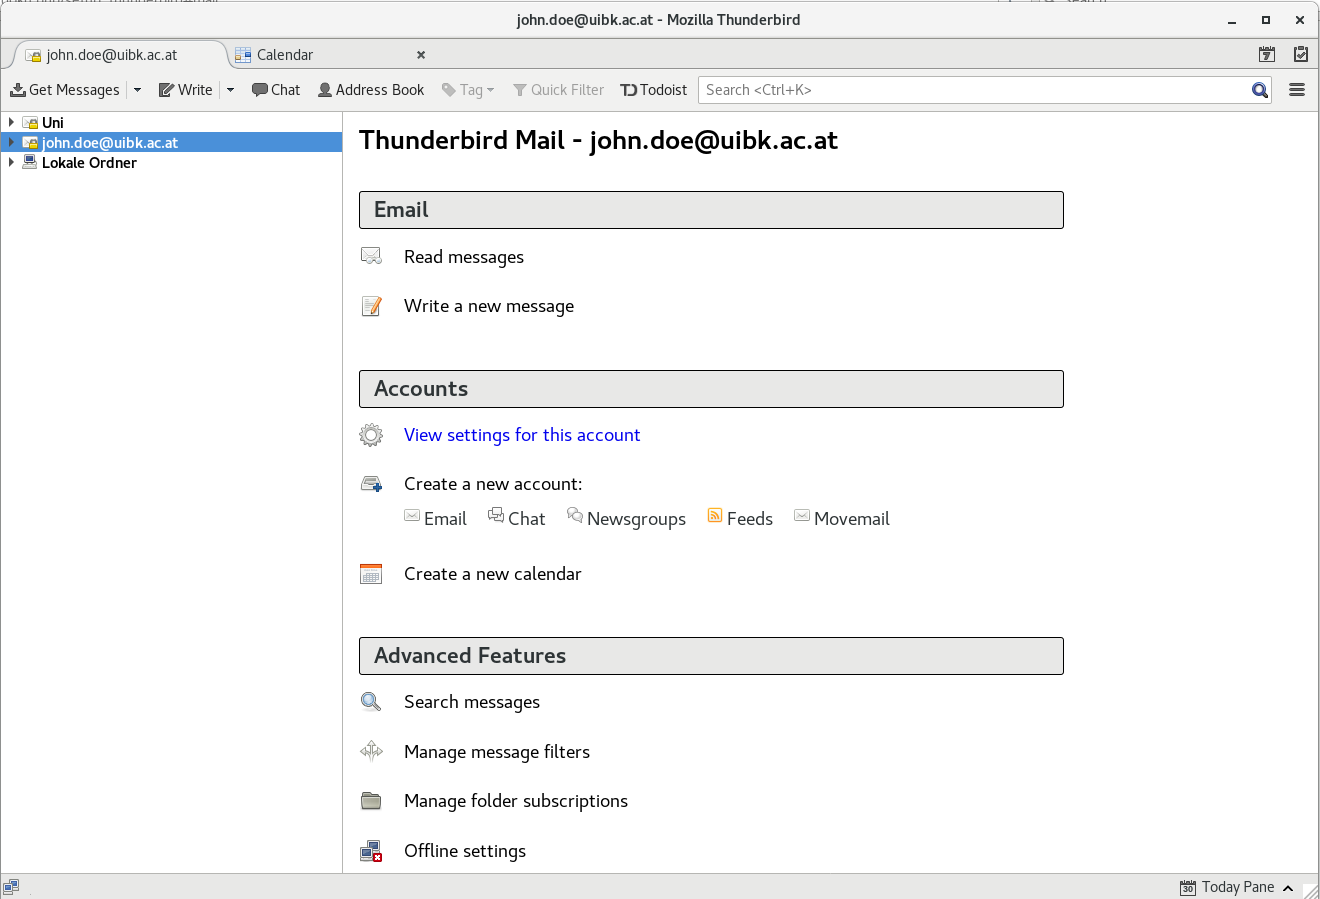
Click on View settings for this account


Under Composition & Addressing click Edit Directories…
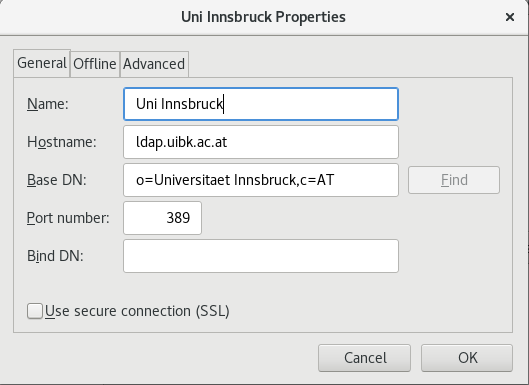
Fill the spaces:
| Description | What to fill in | Notes |
|---|---|---|
| Name | Uni Innsbruck | |
| Hostname | ldap.uibk.ac.at | |
| Base DN | o=Universitaet Innsbruck,c=AT | |
| Port Number | 389 |
Calendar
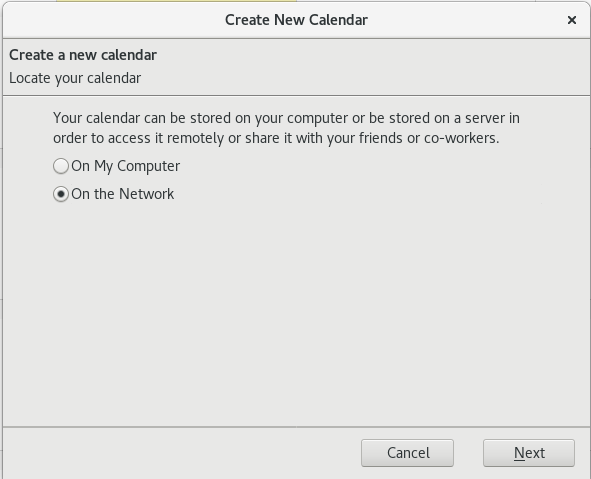
Switch to the Calendar tab, right-click below the calendars on the left and select New Calendar…
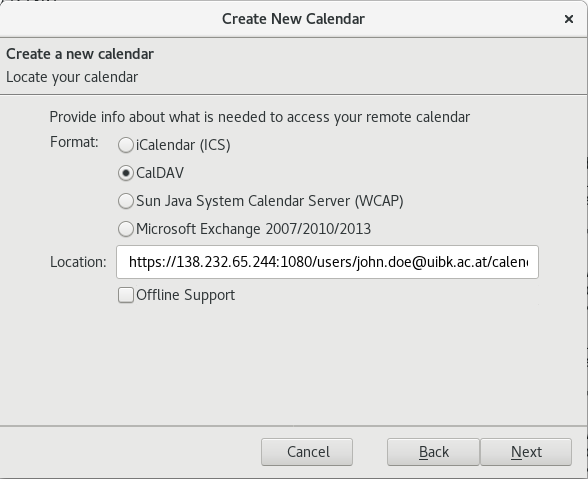
Fill the spaces:
| Description | What to fill in | Notes |
|---|---|---|
| Format | CalDAV | |
| Location | https://138.232.65.244:1080/users/first.last@uibk.ac.at/calendar/NameOfYourCalendar/ | Make sure the calendar you're trying to add already exists, if not create one via the exchange webclient |
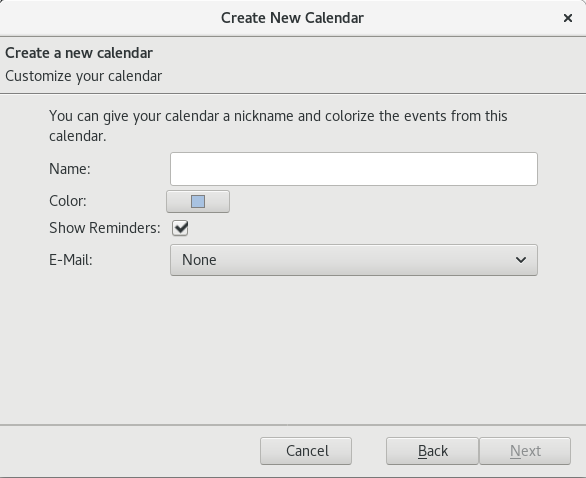
| Description | What to fill in | Notes |
|---|---|---|
| Name | Whatever you want to name your calendar | |
| Which Email you want to link to this calendar |
Now click Next and finish the calendar setup.
S/MIME
Creating your Certificate
Visit the DigiCert SSO Portal and choose the University of Innsbruck

Next, login with your c-number

After that select Premium as Product, a Validity Period (1-3 Years) and click “Request Certificate”

Exporting the Certificate (Firefox)
In the upper right of your Firefox browser click 
Click Options

On the left panel click Advanced
Under Advanced click Certificates > View Certificates

In the Certificate Manager click the Your Certificates tab
Select the Certificate you want to export and click backup

In the File Name to Backup window specify the location and name of your certificate .p12 file backup

In the Choose a Certificate Backup Password window specify a password for your certificate

In the Alert window click OK and you're done

Using your Certificate with Thunderbird
Last modified: 2018/05/04 11:59 by c7031116